
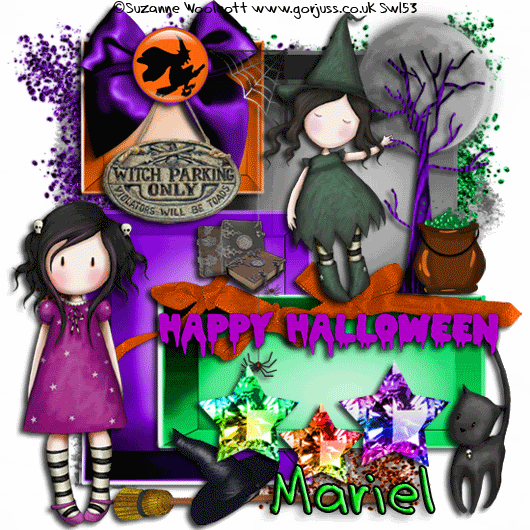
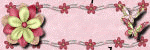
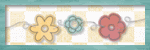
 Bootyful Gorjuss
 Sue AKA Catarific wanted me to try a animated tut, well I gave it a shot....I got to thank her because withought her lessons for psp and animation shop on her blog, this tut would never have happened, remember I use Photoshop, so this was a bit of challenge....Thanks Sue for being a GREAT teacher....Hugsss Stevie
You will need Mariels Kit Bootyful from her blog HERE TYVM Mariel you do beautiful work!
My mask layer font and animation HERE .
Open a canvas 600 by 600 and floodfill white.
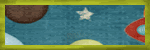
Copy and paste my mask layer provided, if you like recolorize it to suit your needs.
You can do that by going to Adjust > Hue Saturation> Colorize and move the sliders to you achieve a color you do like . Hit ok.
Make sure when you resize to resize using smartsize, resize all layers checked.
Make sure lock aspect ratio is unchecked.
Makes it much easier.
Open elements11, Resize it to 350 by 391
Open element 10 , Resize 300 by 350
Open element 9 and Resize it it 200 by 223 and then rotate this to the right > Image > Rotate
Right
Open element 8 and again rotate this to the right > Image > Rotate
Right resize to 400 by 200
Add a basic dropshadow to all of these as you go along. I used the default ,but go with what you like.
Open Up elements 82 83, 84
Copy and paste each one of the these below your boxes.
Rotate these a bit like you see in my tag.
You can do this by using your pick tool and either free rotating or scaling.
Now the fun part are ya still with me lol
Copy and paste elements of your choice, be creative or follow my tag for a guide.
Add basic drop shadows to all your elements.
Copy and paste your tubes and add drop shadows.
Add your watermark and font
If you like what you see save as a psp file or psd merging all of your layers except the font layer if your making more tags just x that out and merge visable.
Right click on the frame, go to duplicate selected and left click. Duplicate your frames until you have the exact same number of frames as your animation. Save as a psp file.
Open your Star animation in Animation Shop
Now click on Edit >Select all....All your Star frames are now
highlighted ( they will be blue)
Open your tag in animation shop. .the same way you did
the star animation above...so each frame has blue around them also.
Go to your tag frames and again hit the Control and A keys to highlight all your frames in the tag.
Holding down your left mouse key, place your image exactly where you want it in the first frame, and release the left mouse key your animated stars should be where you want in each frame of the tag.
To change the frame speed highlight the frame and right click in the frame and go to Frame Properties. Type in your speed and click ok , if you have more than one with the same speed hold down the shift key and hijglight your frames. Go to any of the highlighted frames and right click, type in your new speed. I used 15 on each frame
Go to Optimazation Wizard gif file , replace current animation with optimazied version.
Better quality image
Next then ok
Make sure you save a psp image of main file if you want to add names to the tag
Phew! we are done!
and if your still with me lol
Thank you very much for trying.....


1 comments:
Thank you so much for this Freebie. I want to let you know that I posted a link to your blog in Creative Busy Hands Scrapbook Freebies Search List, under the Page 2 post on Sep. 19, 2009. Thanks again.
Post a Comment