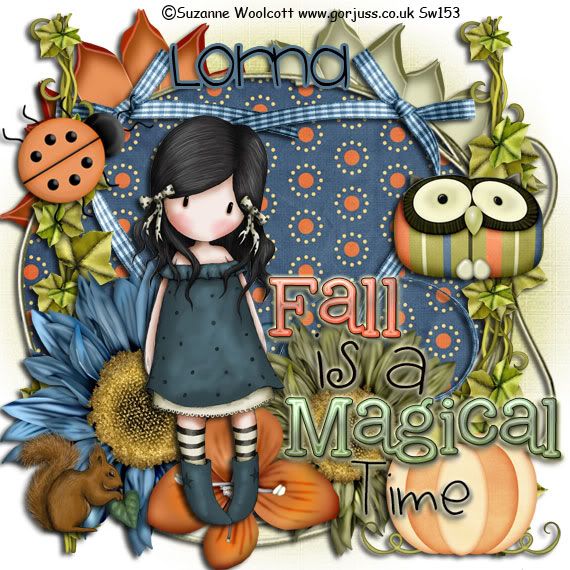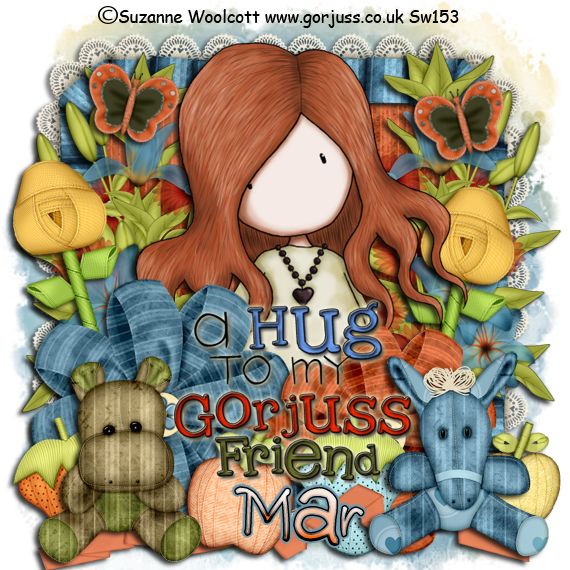
A hug to to my gorjuss friend
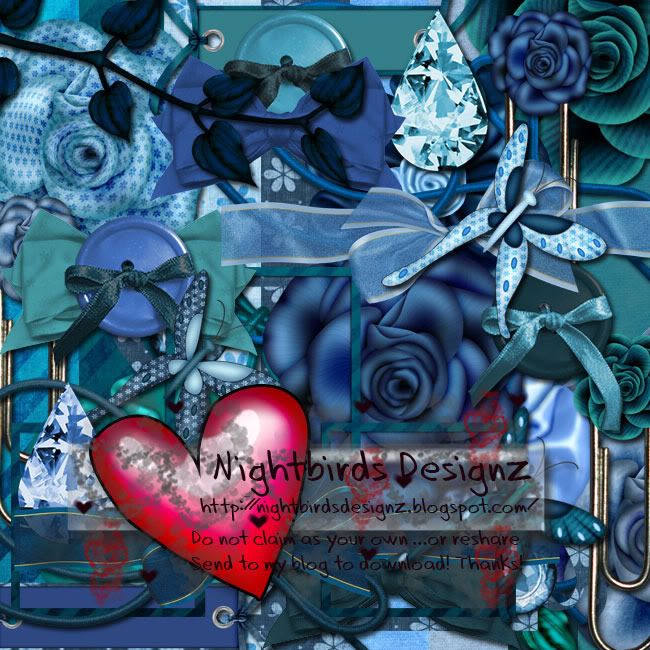
You will need the kit from Mar FTU "To my friend Mariel"
as always beautiful Mar TYVM! HERE
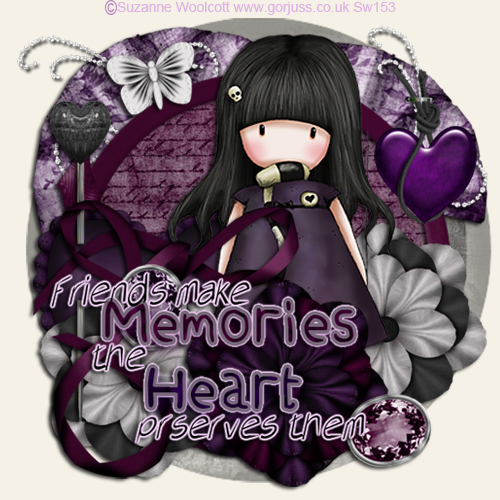
My mask layer and wordart HERE
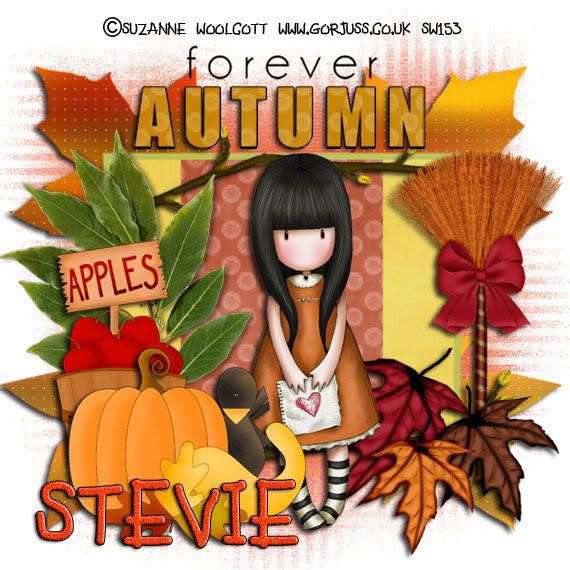
and as alwayus the cute work of Suzanne Woolcott HERE
Always remember to resize using aspect ratio unchecked and pixels
checked. And as always use your favorite drop shadow
Open a canvas 570 by 570 and floodfill white.
Copy and paste your mask layer.
Copy and paste element 30 and resize to 500 to 500
Copy snd paste paer 5 and resize it to 500 by 500
Drag it under the frame and erase the excess if needed
Copy and paste element 37 and resize to 300 by 310
Move to the left of the tag.
Copy and paste element 36 and resize to 250 to 259
Copy and paste element 11 and resize to 250 by 430
Dupliciate and mirror this and flip.
Copy and paste element 14 150 by 205 rotate this with free rotate and drop under your flower
Copy and paste element 16 and resize to 150 by 178
Copy and paste element 21 and resize to 200 by 220
Copy and paste element 17 and reisze to 130 by 170
Copy and paste element 28 and resize to 100 by 85 free rotate this a bit if you like.
Duplicate the butterfly mirror flip and move to the right of the tag.
Copy and paste element 20 and resize to 180 by 217
Copy and paste element 15 and resize to 130 by 154
copy and paste element 18 and resize by 100 by 131
Copy and paste elemnt 57 and resize to 550 by 183
Copy and paste your tube and wordart
Add your font and watermark
Save a a png or jpeg
AND
Thats it!
Very cute and really simple....
TYVM for trying
You will need the kit from Mar FTU "To my friend Mariel"
as always beautiful Mar TYVM! HERE
My mask layer and wordart HERE
and as alwayus the cute work of Suzanne Woolcott HERE
Always remember to resize using aspect ratio unchecked and pixels
checked. And as always use your favorite drop shadow
Open a canvas 570 by 570 and floodfill white.
Copy and paste your mask layer.
Copy and paste element 30 and resize to 500 to 500
Copy snd paste paer 5 and resize it to 500 by 500
Drag it under the frame and erase the excess if needed
Copy and paste element 37 and resize to 300 by 310
Move to the left of the tag.
Copy and paste element 36 and resize to 250 to 259
Copy and paste element 11 and resize to 250 by 430
Dupliciate and mirror this and flip.
Copy and paste element 14 150 by 205 rotate this with free rotate and drop under your flower
Copy and paste element 16 and resize to 150 by 178
Copy and paste element 21 and resize to 200 by 220
Copy and paste element 17 and reisze to 130 by 170
Copy and paste element 28 and resize to 100 by 85 free rotate this a bit if you like.
Duplicate the butterfly mirror flip and move to the right of the tag.
Copy and paste element 20 and resize to 180 by 217
Copy and paste element 15 and resize to 130 by 154
copy and paste element 18 and resize by 100 by 131
Copy and paste elemnt 57 and resize to 550 by 183
Copy and paste your tube and wordart
Add your font and watermark
Save a a png or jpeg
AND
Thats it!
Very cute and really simple....
TYVM for trying